Overview
Setting Template
Text Macro
Sign
Documents Digitalize and Sign
Settings
Note:
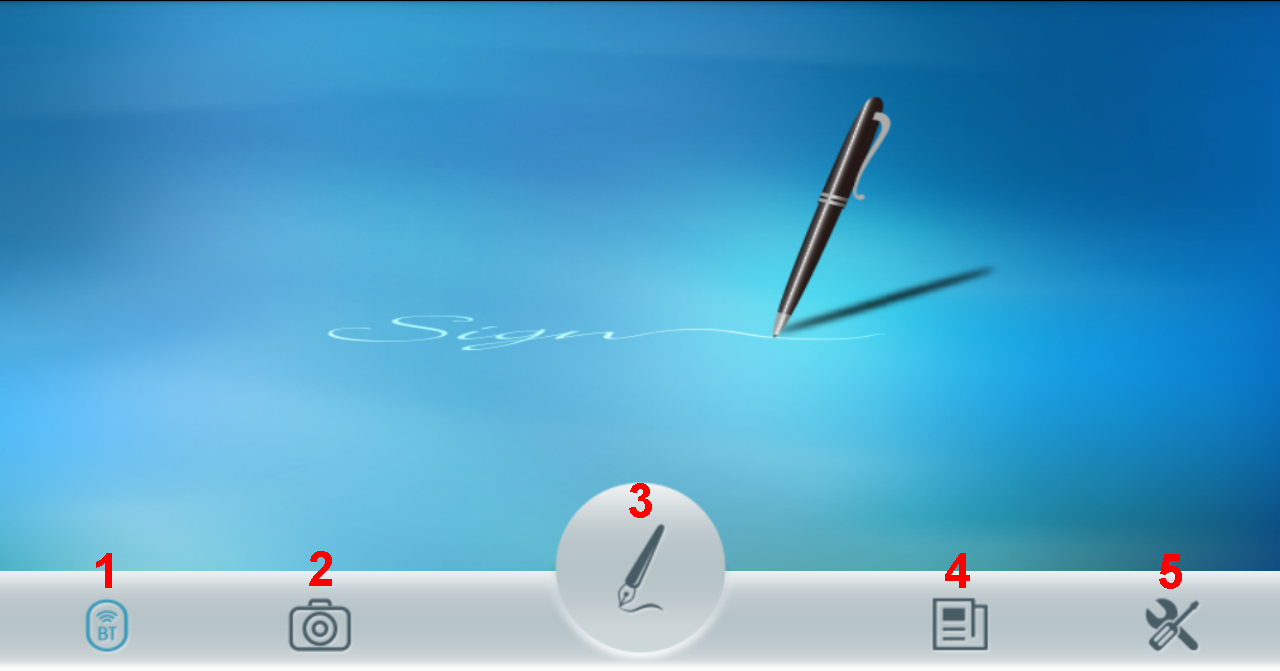
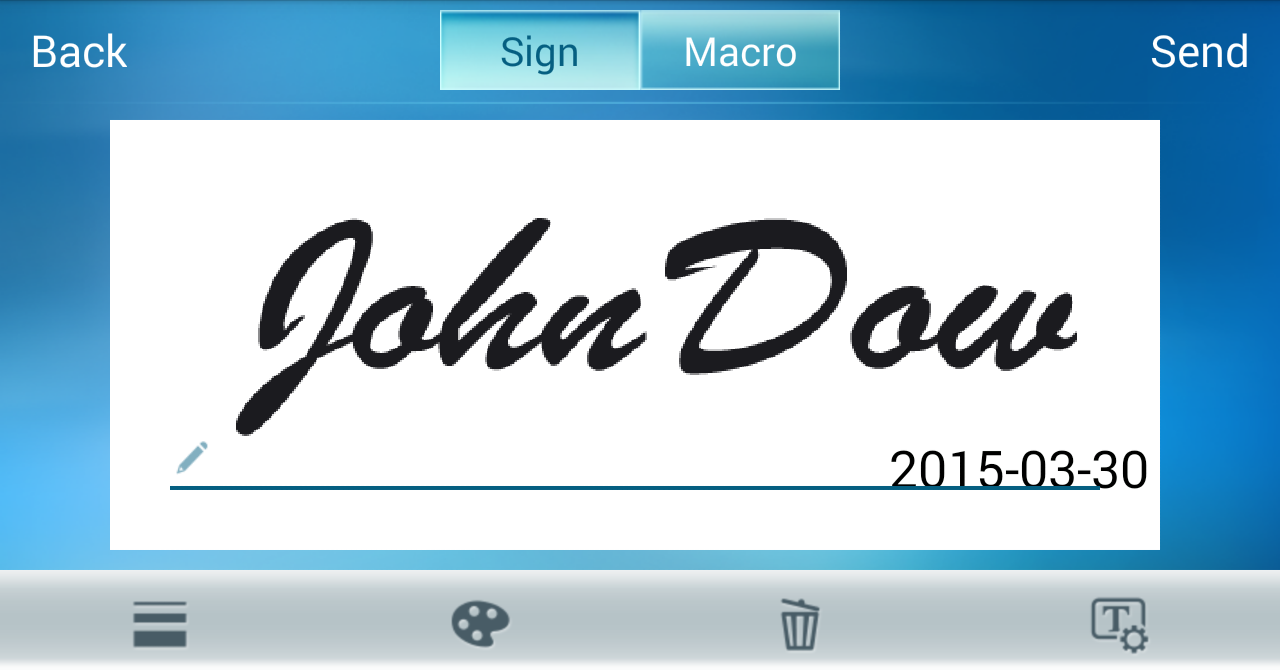
Tap
![]() on the
main screen to enter the signing area. Tap
on the
main screen to enter the signing area. Tap
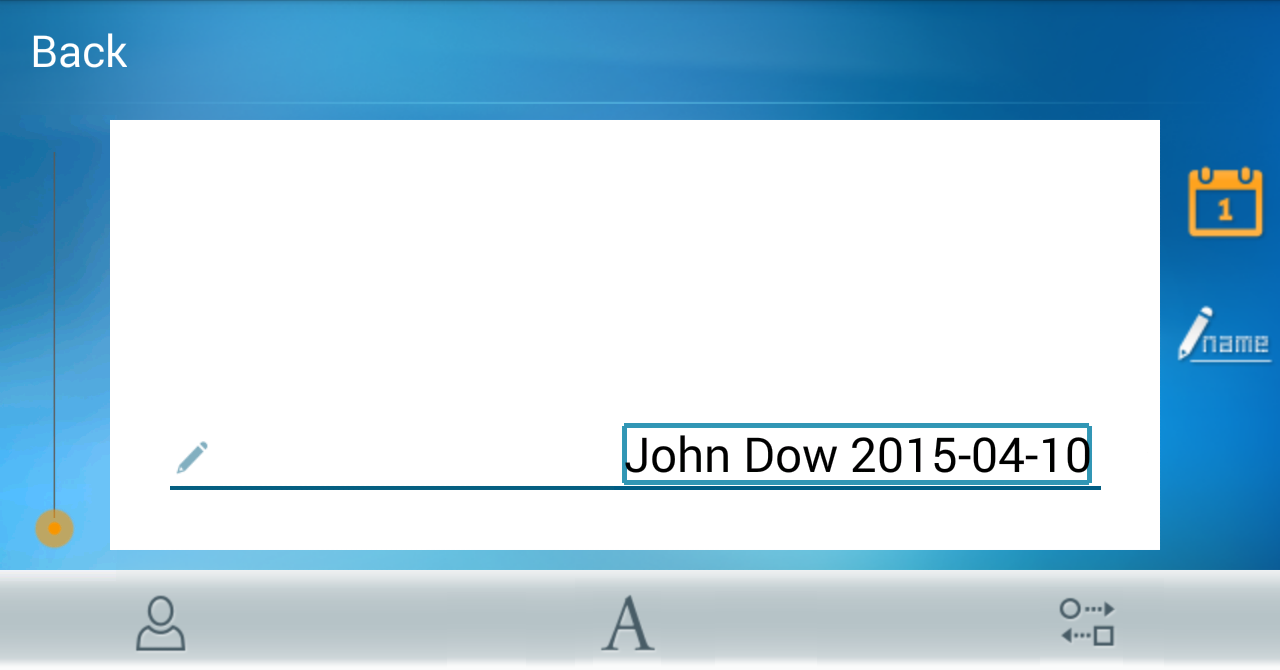
![]() to set
the template of signature before you sign, and you can choose to attach the date
of signing or your digital name.
to set
the template of signature before you sign, and you can choose to attach the date
of signing or your digital name.
First of all, tap
![]() to set
your [Digital name], and after that you can tap
to set
your [Digital name], and after that you can tap
![]() to add the date
of signing, or tap
to add the date
of signing, or tap
![]() to add digital
name, at this time you can tap
to add digital
name, at this time you can tap
![]() to set the font
of name and date as [Bold], [Italics] or [Underline], also you can tap
to set the font
of name and date as [Bold], [Italics] or [Underline], also you can tap
![]() to set the
sequence of date and name. Otherwise, you can zoom in/ out the size of digital
name and date from the slider bar at left, or hold press the digital name and
date to move the position.
to set the
sequence of date and name. Otherwise, you can zoom in/ out the size of digital
name and date from the slider bar at left, or hold press the digital name and
date to move the position.
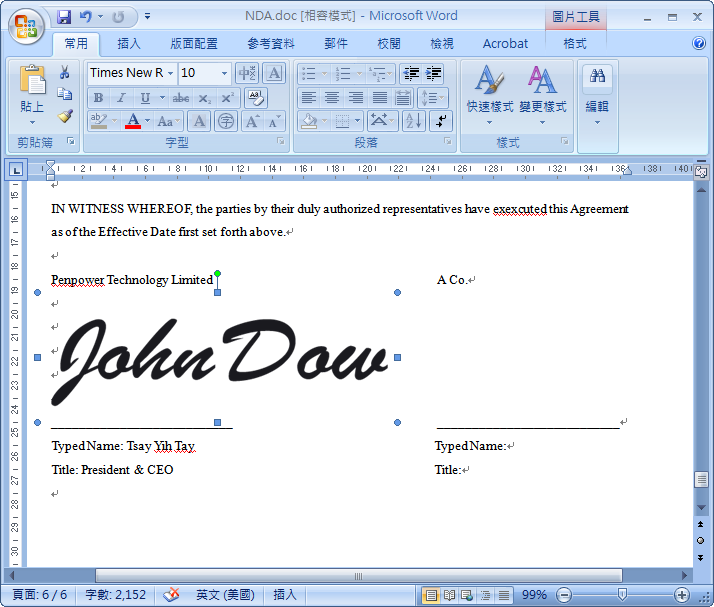
Note: If you use Adobe PDF software to open the document which you are going to sign, the template of digital name and date will not be implemented but displayed as watermark as below.

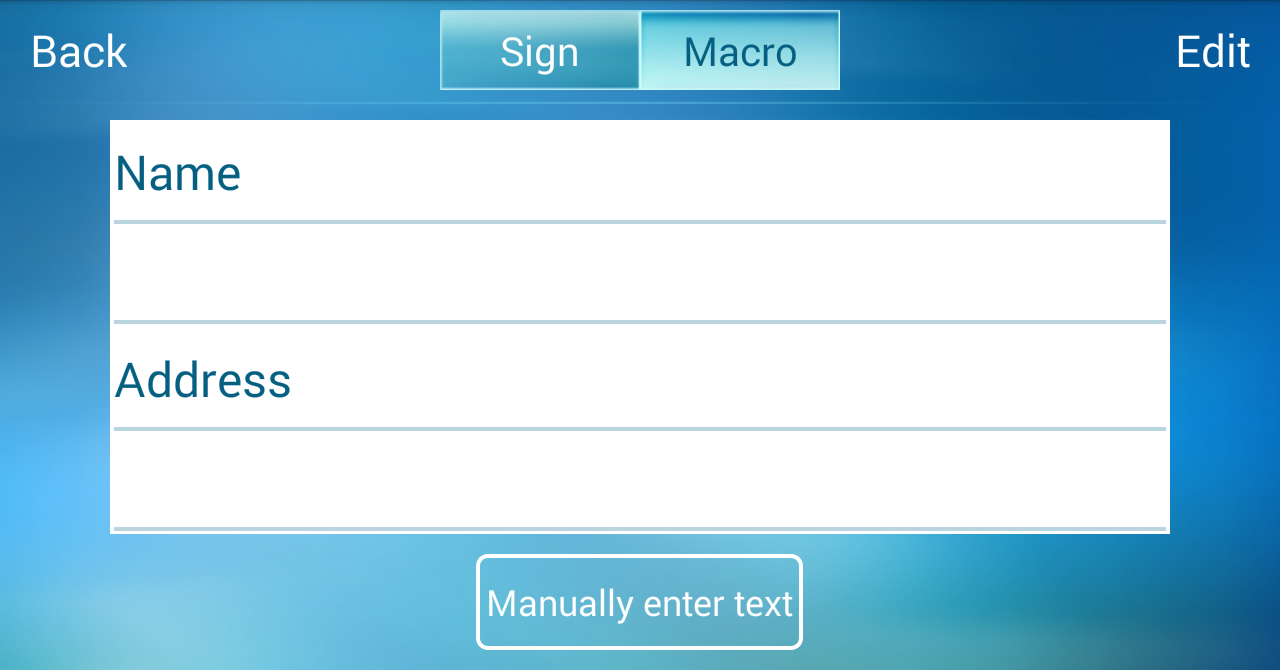
The text macro can help you to send the
text you will often use. Switching to
![]() and tap
[Edit] to establish the text macro, the default items are [Name], [Address],
[Company Name], and the attached digital name in the template of signature is
the [Name] here, please tap [Edit] to add these information, after that, every
time you enter
and tap
[Edit] to establish the text macro, the default items are [Name], [Address],
[Company Name], and the attached digital name in the template of signature is
the [Name] here, please tap [Edit] to add these information, after that, every
time you enter
![]() when you
are signing, you just tap the item you want to insert, and the text will send to
the document instantly.
when you
are signing, you just tap the item you want to insert, and the text will send to
the document instantly.
Moreover, you can tap
![]() , and
tap the blank area to launch the keypad to type, and then tap [Send] to send
out the texts to the document on PC immediately. Tap
, and
tap the blank area to launch the keypad to type, and then tap [Send] to send
out the texts to the document on PC immediately. Tap
![]() to erase
all the texts in the typing area, or tap
to erase
all the texts in the typing area, or tap
![]() and enter the item name to save them if you will use them someday.
and enter the item name to save them if you will use them someday.
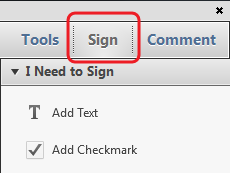
If you are using FoneSign with the Adobe PDF software, please click [Sign] on the Adobe PDF software, and click [Add text] item, and then move the mouse cursor to the place where you are going to add the text macro, then you can click the text macro on the phone to send out.
Tap
![]() on the
main screen to enter the signing area.
on the
main screen to enter the signing area.
You can tap ![]() to
switch thin/thick stroke and tap
to
switch thin/thick stroke and tap
![]() to change
color; tap
to change
color; tap ![]() to
clean the stroke to re-write.
to
clean the stroke to re-write.
Tap [Send] on the up-right corner when you finish signing, the FoneSign software
will show the status of sending your signature, and soon you will see the
signature pasted on your document, you can zoom in/out and drag the signature to
the position you like, and save the document to finish.
FoneSign also provides a function for you to take picture and
sign on it, just tap
![]() to start the
camera, and capture the document you want to sign, and then you can tap
to start the
camera, and capture the document you want to sign, and then you can tap
![]() to enhance
the image or tap
to enhance
the image or tap ![]() to crop, and you can also rotate the image; tap
to crop, and you can also rotate the image; tap
![]() to abort
if you want to shoot again, tap
to abort
if you want to shoot again, tap
![]() to capture
another photo.
to capture
another photo.
After Tapping [Finish], the app will list [Dropbox], [Google Drive] and [Sina
Vdisk] for you to choose, it will ask you to log in when fist time using. After
logging in, the document you captured will be sent to PC via the cloud storage
and open in PDF software automatically for you to sign.
When the document have been sent to the PC, the app on the phone will auto enter
the signing page, at this time you can start to sign and insert the signature
into the document.
Note: You need Adobe v11.0.8 or above version, or Foxitv6.0 or above version
PDF document software installed in the PC to open the document you captured and
sign.
Tap the button
![]() to open the
menu.
to open the
menu.
Bluetooth information: Tap it to forget the paired device for connecting
new device.
Share link of cloud storage setting: Tap to select which cloud storage
you want to use, and it will ask you to log in when fist time using.
2015/04/10