WorldCard Cloud provides personal platform for managing business cards. In [My Favorites] area, users can add, recognize and use card information; also, users can build their own category system for sorting the cards. Moreover, every information that added or edited in [My Favorites] will be uploaded to [Public Contacts]. Through the update system, you can share your contacts information with other users and get theirs information as well so as to immediately update and enlarge your contacts network.
Application in Public Contacts
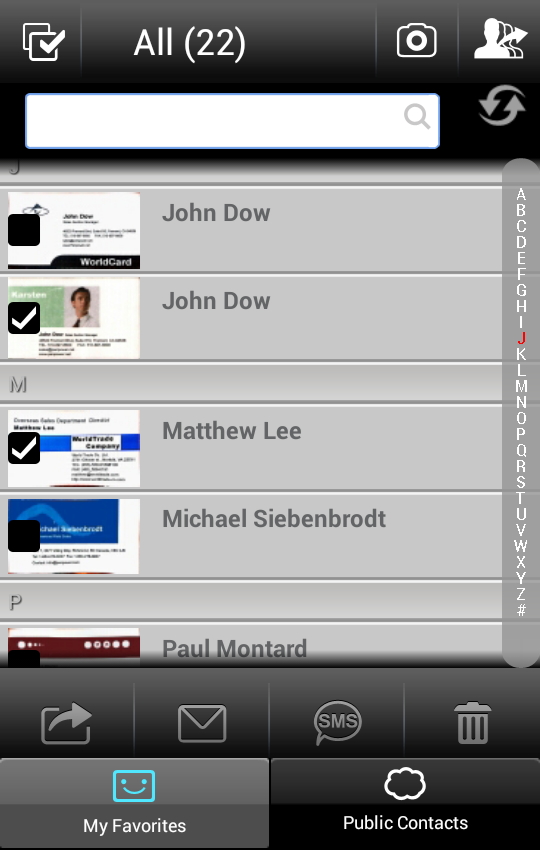
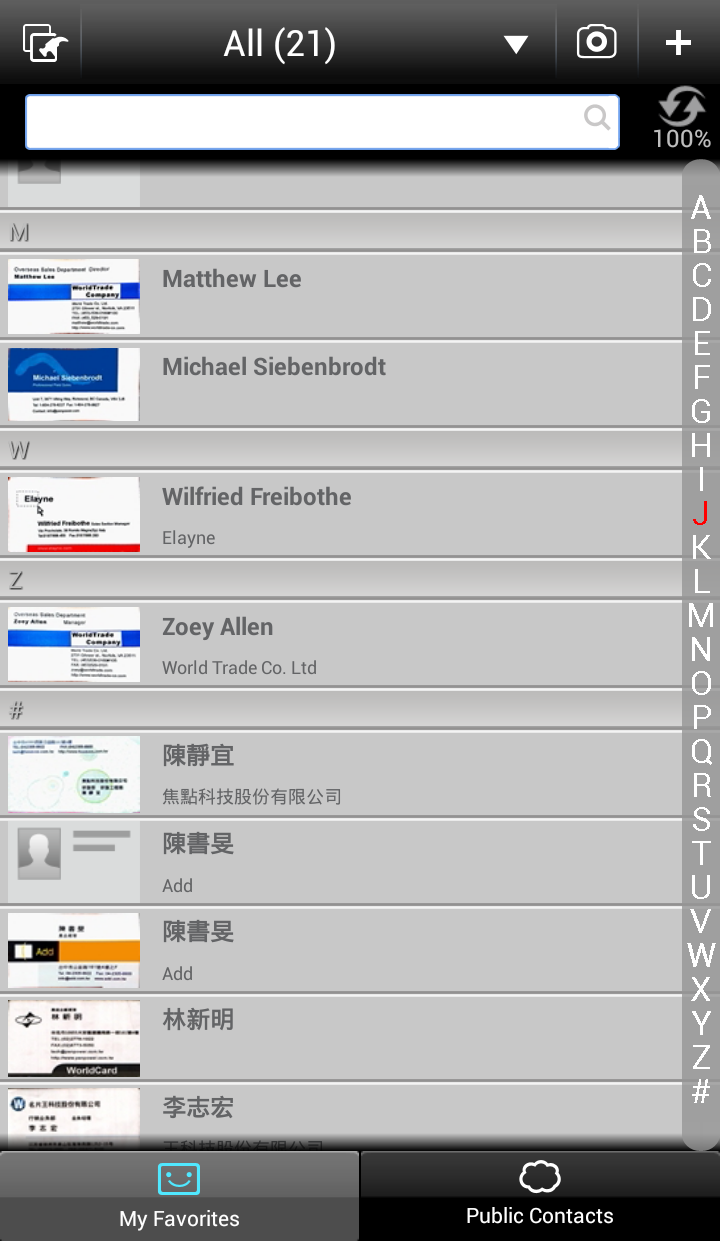
When you log in to WorldCard Cloud app, you will enter to the preset page [My Favorite]. At the top of the page, there are buttons for advanced card function, switching category, adding cards, updating card information and search bar. The contacts will be listed according to field sorting and index mode. Below the contacts list are the tabs of [My Favorites] and [Public Contacts]. You can switch to these two pages by tapping the tab.

 Search Bar- Type
in the keywords to search for contact information.
Search Bar- Type
in the keywords to search for contact information.
Index List- Click on the index character or scroll the index list to view the contact and its card image.
Click ![]() to add contact by selecting pictures from Camera, existing
photo, eSignature, creating manually.
to add contact by selecting pictures from Camera, existing
photo, eSignature, creating manually.
a. Create Contacts from Camera
b. Create Contacts from
Existing photo
c. Recognize eSignatures
d. Create Contacts Manually
a.
Create Contacts from Camera
1. Click ![]() in [My Favorites] and choos
in [My Favorites] and choos
2. Rotate your mobile phone to landscape mode and make sure the business card image is fully loaded in the screen.
Tip: If the text in your business card is vertical, please also rotate your mobile phone to landscape mode to capture the image.
3. Get the camera to focus the image by tapping the screen.
Tip 1:Tap
Tip 2:Tap Image Process
![]() to
twist and lighten the photo automatically.
to
twist and lighten the photo automatically.
![]() : No image
process.
: No image
process.
![]()
Tip 3:Tap flash mode(where exists) to select Auto
Tip 4:Tap
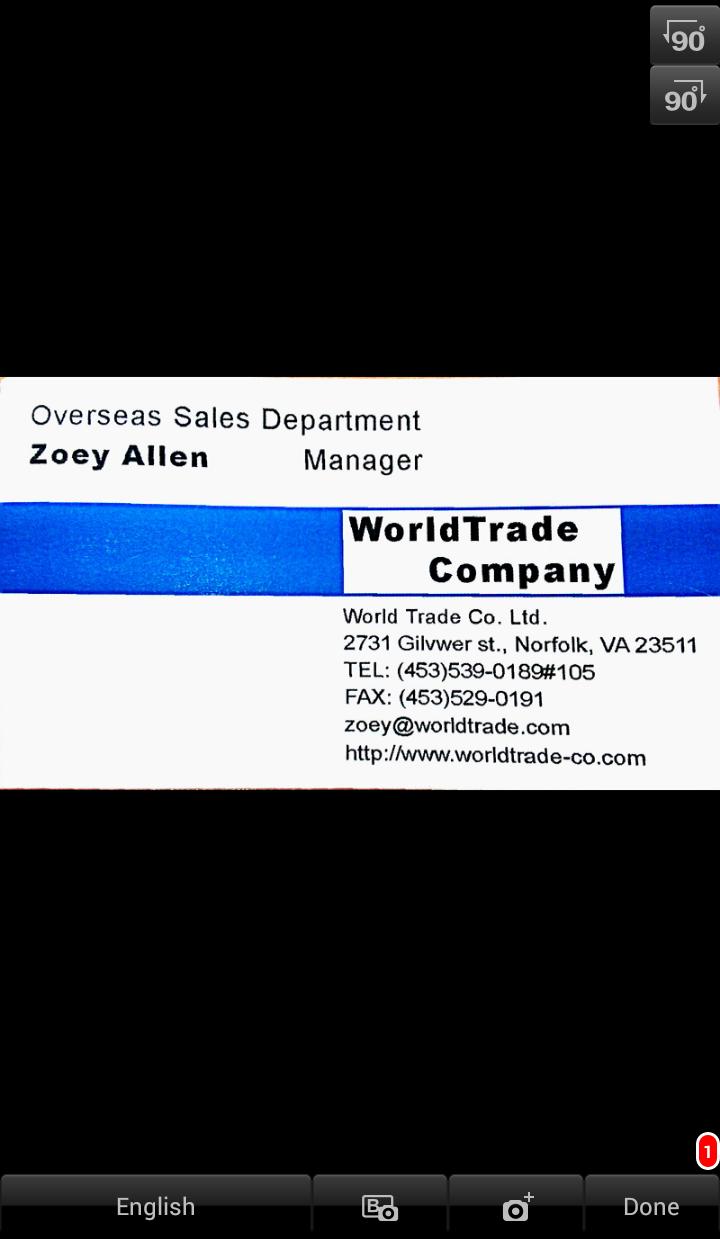
5. Select the recognition language. This version supports Traditional Chinese, Simplified Chinese, English, Hong Kong, Japanese, Korean, French, German, Italian, Spanish, Spanish (Mexico), Portuguese, Portuguese (Brazilian), Dutch, Polish, Hungarian, Czech, Slovak, Russian, Turkish, Danish, Finnish, Greek, Swedish and Norwegian.
6. Tap the [Done] button to start recognizing the card image. If you want to recognize the back side of the business card, just tap
Tip: The number beside [Done] displays how many card images have been recognized but unedited.
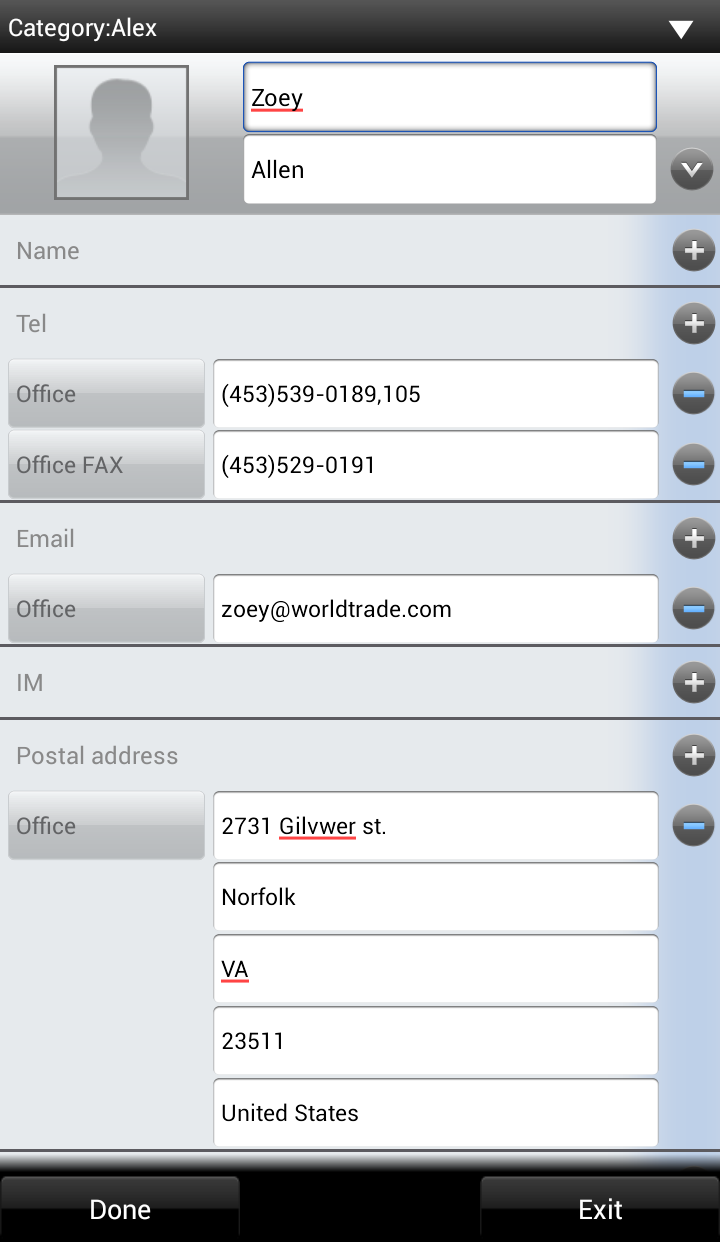
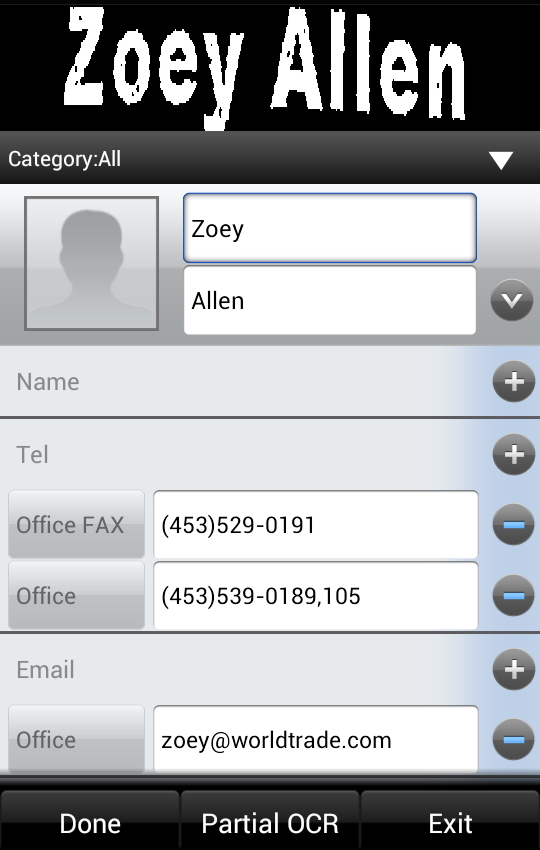
7. When the recognition process finishes, you can view and edit the contact information.
8.
Click [Done] and the contact information will be saved in
[My Favorites].
b. Create Contacts from Existing Photo
1. Click
2. Choose a business card image from the album and preview it.
Note: The chosen image has to be in jpg format.
Tip: Tap
3. Click [Image Process] to twist and lighten the card image.
4. Select the recognition language. This version supports Traditional Chinese, Simplified Chinese, English, Hong Kong, Japanese, Korean, French, German, Italian, Spanish, Spanish (Mexico), Portuguese, Portuguese (Brazilian), Dutch, Polish, Hungarian, Czech, Slovak, Russian, Turkish, Danish, Finnish, Greek, Swedish and Norwegian.
5. Tap the [Done] button to start recognizing the card image.
6. When the recognition process finishes, you can view and edit the contact information.
7. Click [Done] and the contact information will be saved in [My Favorites].
c. Recognize eSignature
1. Open any document with email signature information (ex. Gmail).
2. Select and copy the text that you want to recognize in the email signature area.
3. Open WorldCard Cloud app and click
4. Tap the [Recognize] icon. the system will recognize the text you have chosen and then automatically build the contact information according to the attribute of each column.
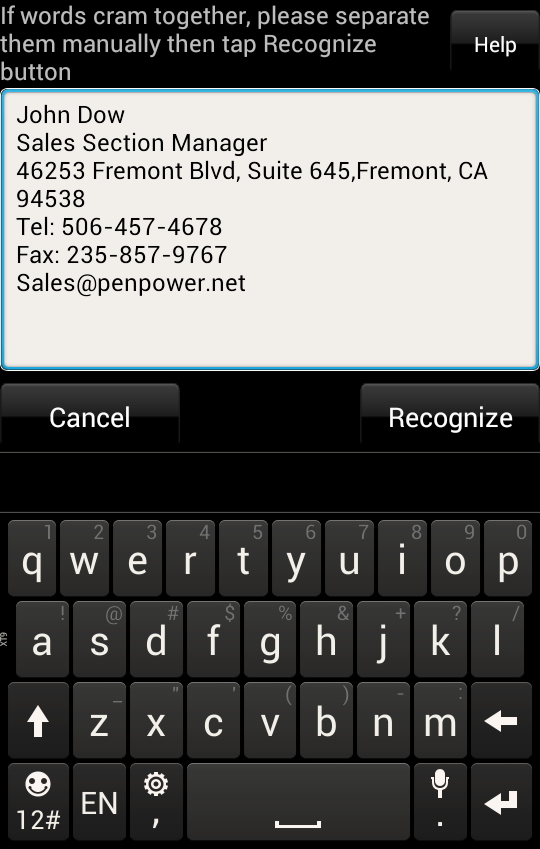
5. When the recognition process finishes, you can view and edit the contact information.
6. Tap [Done] and the contact information will be saved to [My Favorites].
d. Create Contacts Manually
1. Click
2. Fill in the contact information in each field.
3. Tap [Done] and the contact information will be saved to [My Favorites].
Tip: If you want to add a new contact who share the same company information with the other contact, please long-press the other contact's information in the contact list and choose [Add a card from the same company]. The system will open a new editing page and enter the related company information in the corresponded columns automatically. After filling other information fields, click [Done] to finish editing.
WorldCard Cloud provides automatic update system. Every added or edited contact information in [My Favorites] will be updated to [Public Contacts]. On the other hand, the information edited in [Public Contacts] will be instantly updated to [My Favorites] as well. When you add cards in [My Favorites], the unuploaded icon
When
You can add, edit and delete card category in [My Favorites]. you can also switch the category in [My Favorites] to view business cards.
a. Add Category
b. Edit Category
c. Delete Category
d. Switch Category
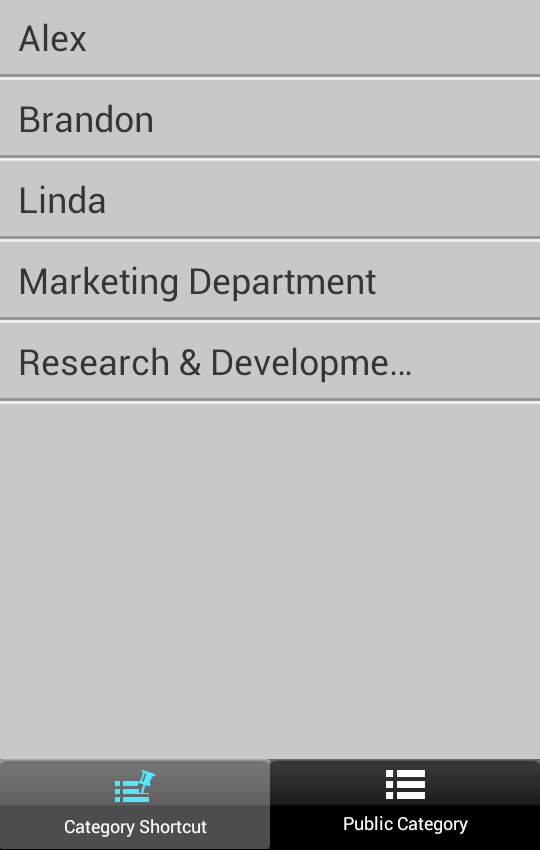
1. Click the category name or the
![]() button
to enter the category list.
button
to enter the category list.
2.
Click
![]() beside the root
category to open the sub-category list.
beside the root
category to open the sub-category list.

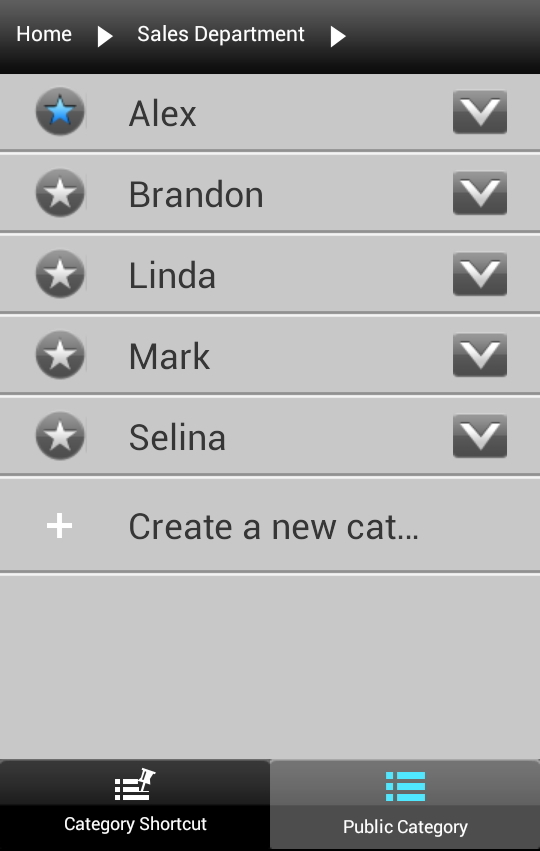
3. Click
 below the
list and enter the new category name in the opened window. Click [Done] and the
new category can be found in the category list.
below the
list and enter the new category name in the opened window. Click [Done] and the
new category can be found in the category list.
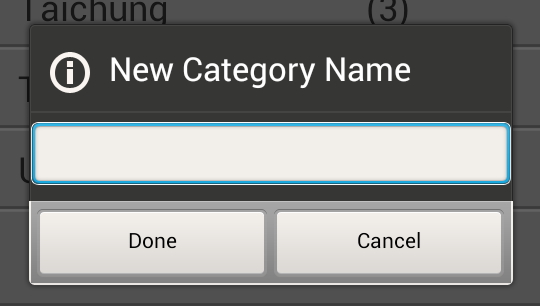
Note: You can only add sub-category in the category of root category.
1. Click the category name or the
2. Long-press on the category name you want to edit and choose [Edit the category] to rename the category.
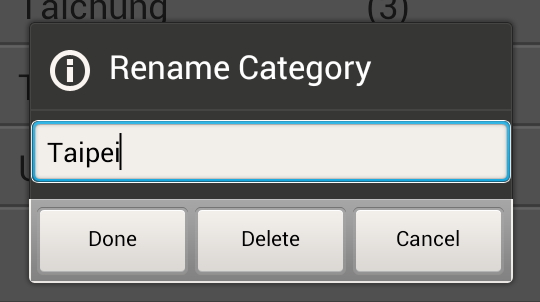
3. Click [Done] and the newly edited category can be found in the category list.
1. Click the category name or the
2. Long-press on the category name and choose [Edit the category].
3. Click [Delete] to remove the category from the list.
Note: You need to clear all the sub-categories and contacts information from the category before deleting it.
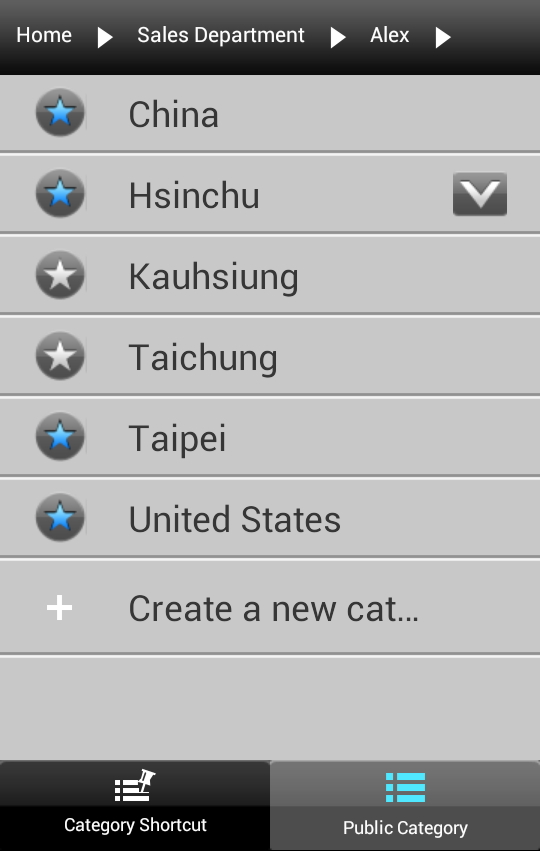
1. Click the category name or the
2. You can click the root category to view its card information or click