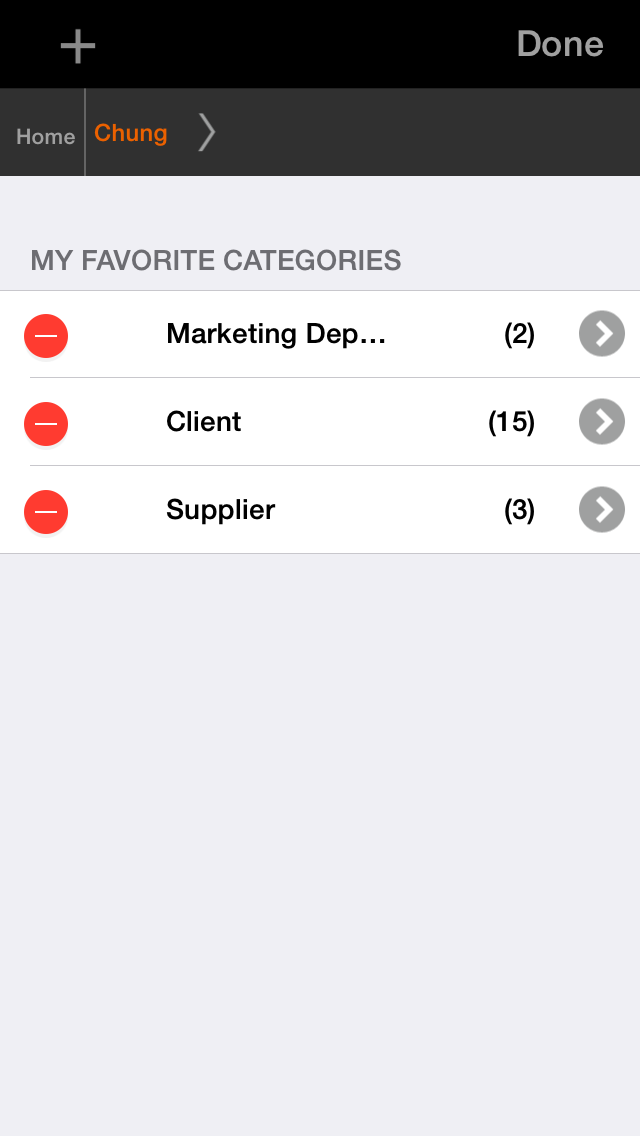
WorldCard Enterprise provides personal platform for managing business cards. In [My Favorites] area, users can add, recognize and use card information; also, users can build their own category system for sorting the cards. Moreover, every information that added or edited in [My Favorites] will be uploaded to [Public Contacts]. Through the update system, you can share your contacts information with other users and get theirs information as well so as to immediately update and enlarge your contacts network.
Application in Public Contacts
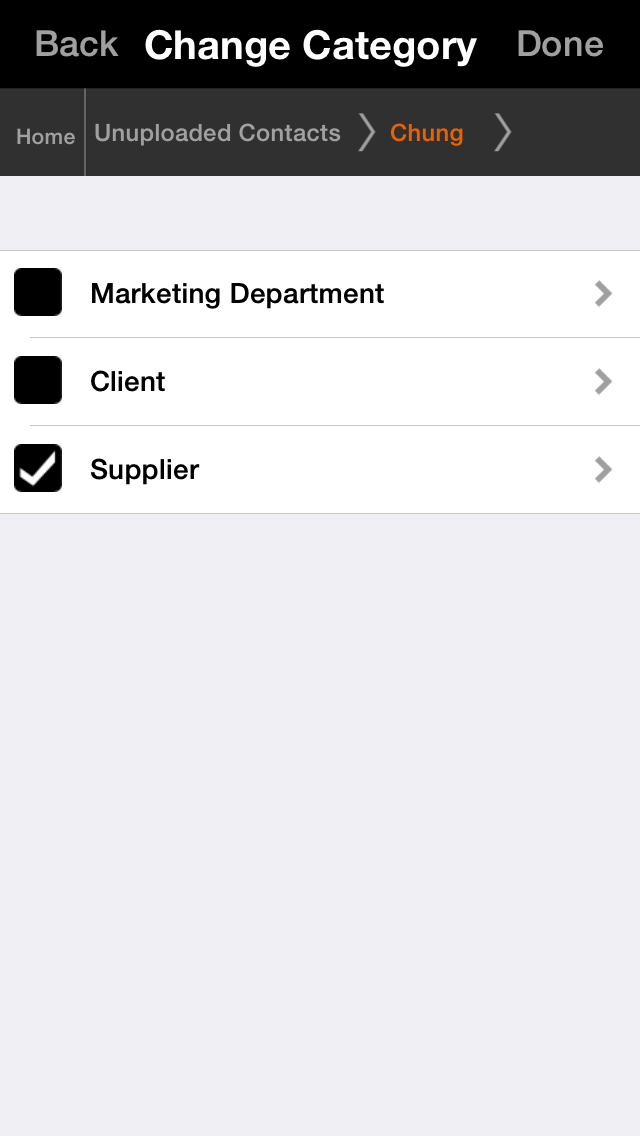
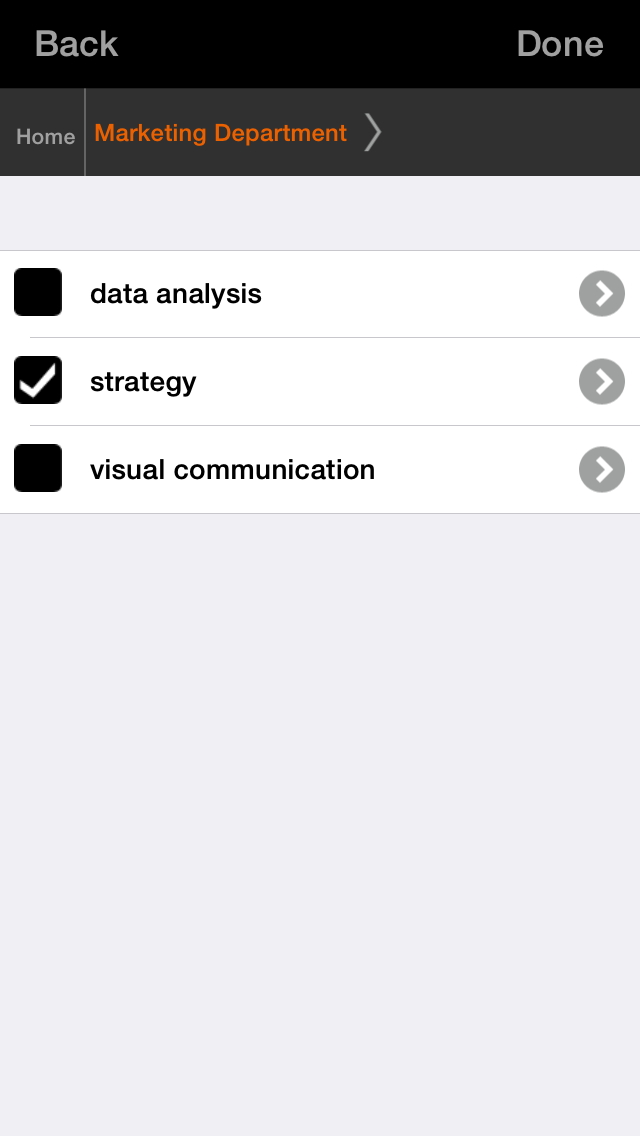
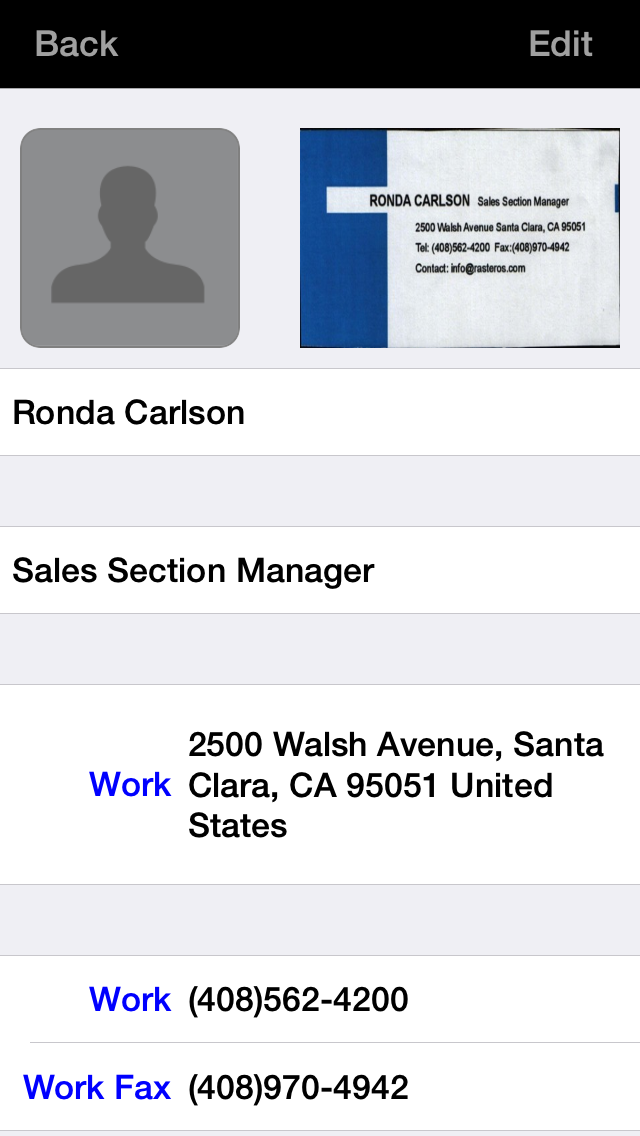
Edit and Use Contacts Information
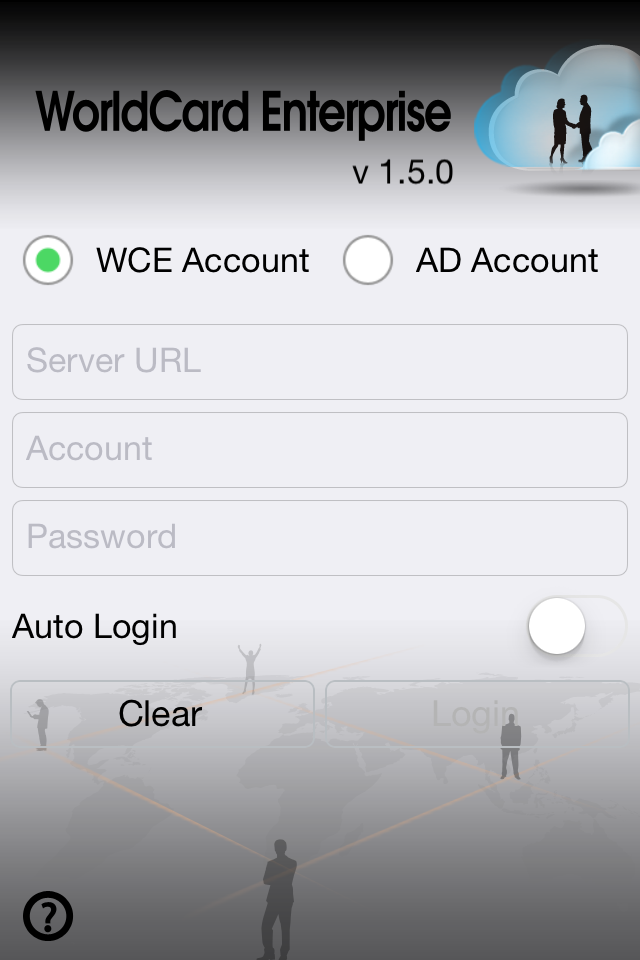
When you open the login page of WorldCard Enterprise, please choose [WCE Account] option and enter your account and password to log in to the server, if turn on [Keep me signed in], it will auto log in every next time.
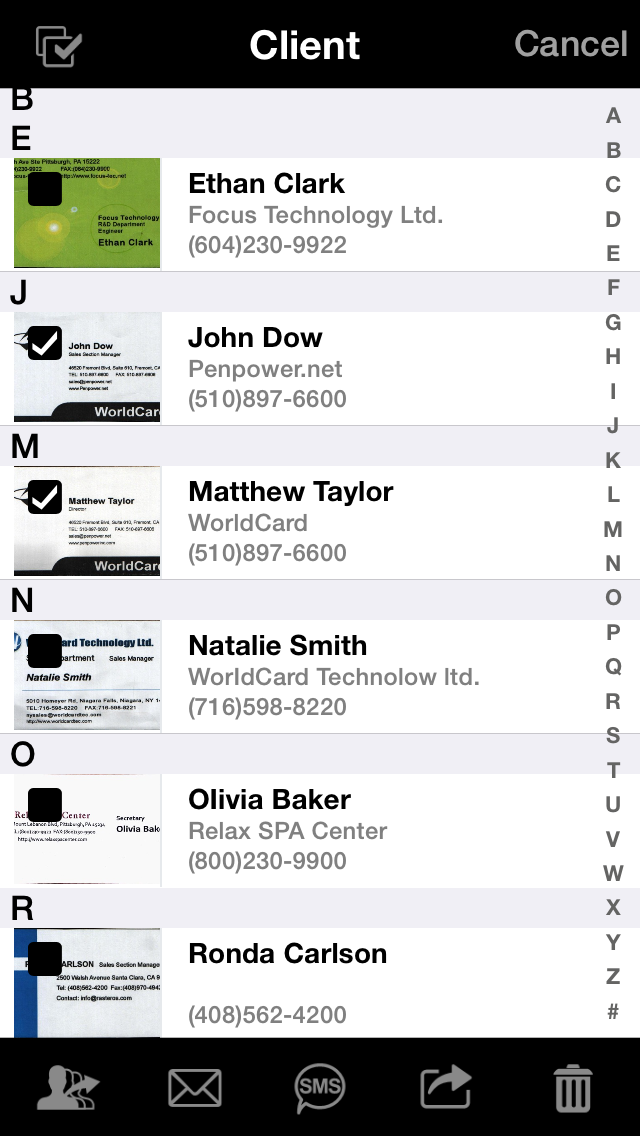
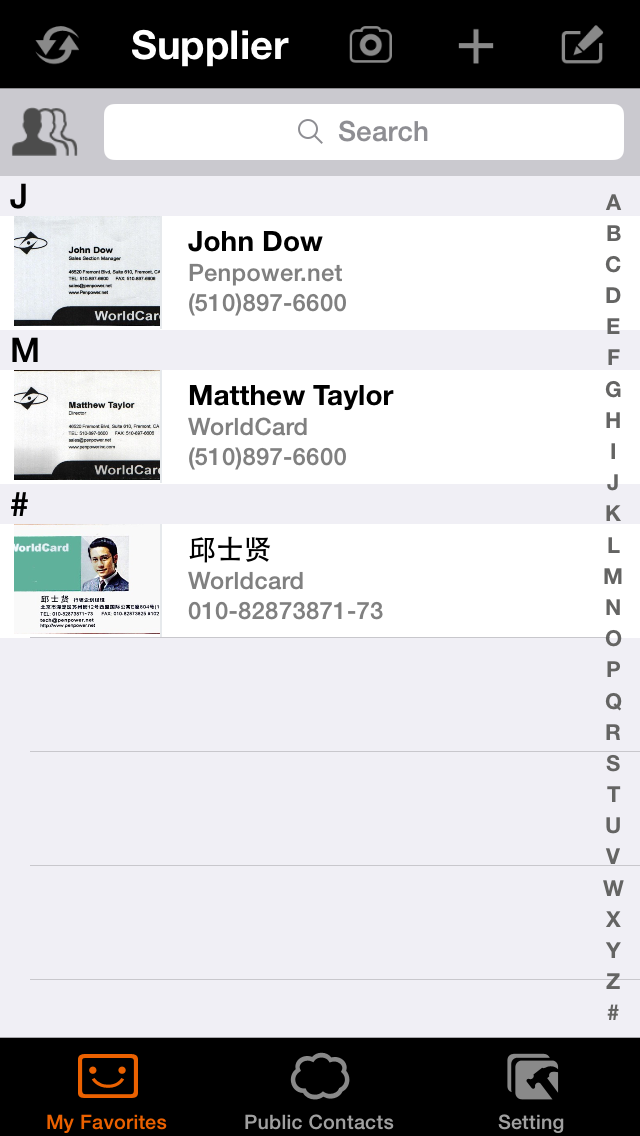
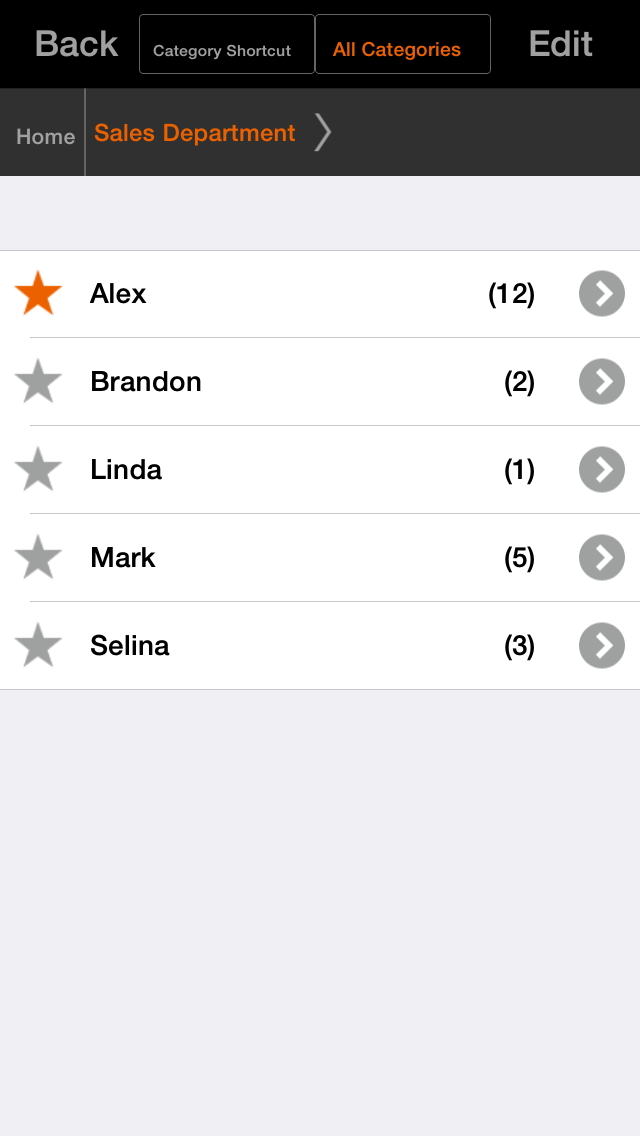
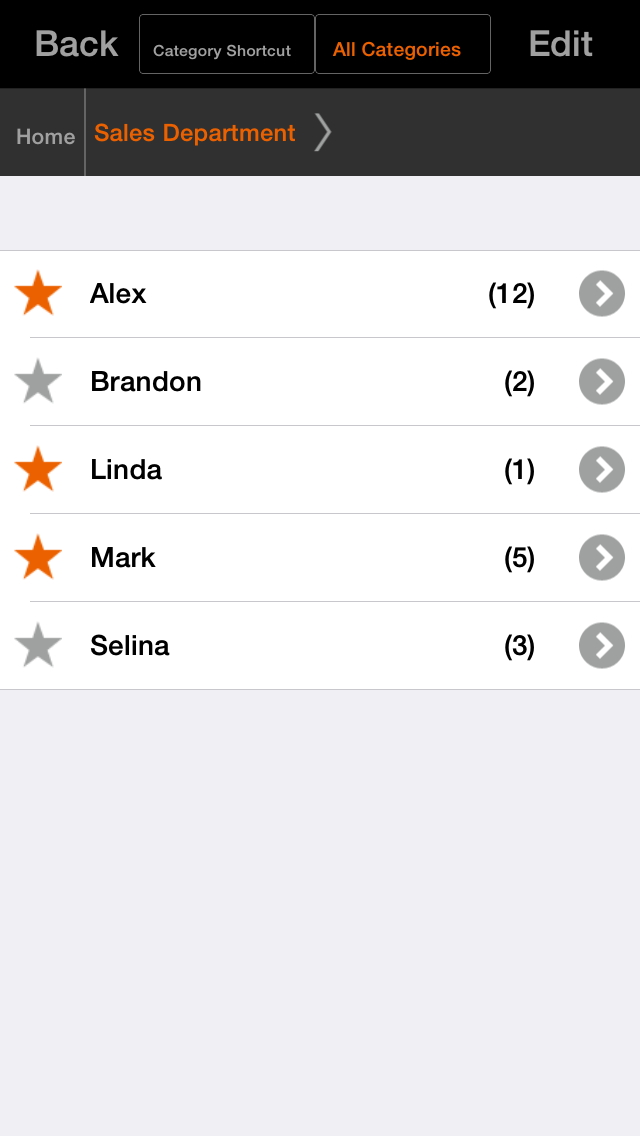
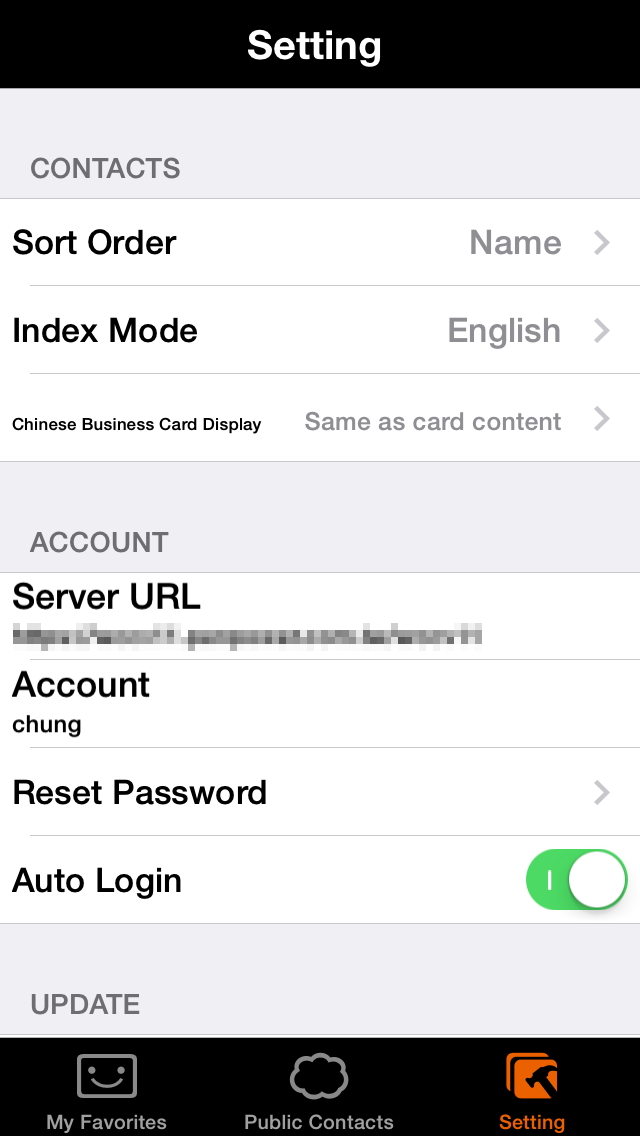
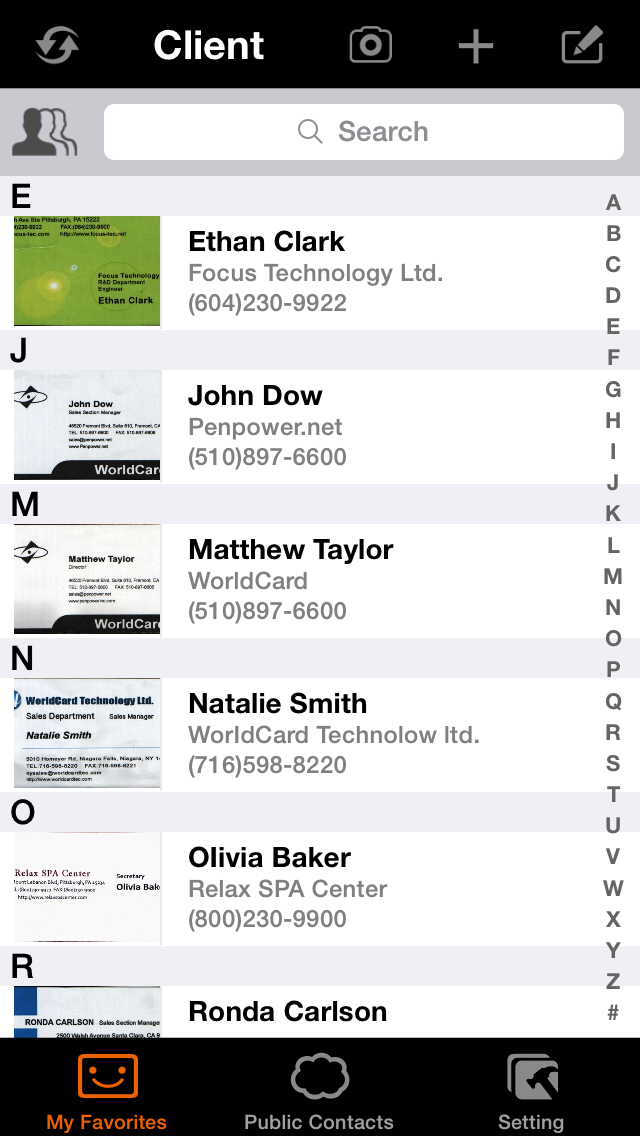
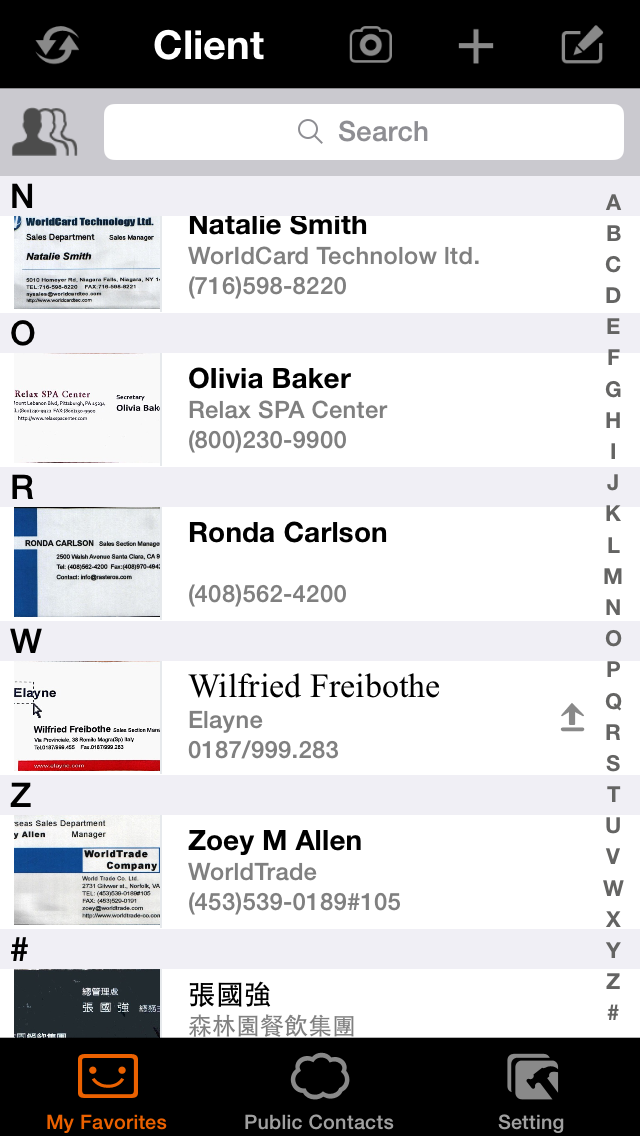
When you log in to WorldCard Enterprise app, you will enter to the preset page [My Favorite].At the top of the page, there are buttons for updating card information, advanced card function, switching category, adding cards and search bar. The contacts will be listed according to field sorting and index mode. Bethe contacts list are the tabs of [My Favorites], [Public Contacts] and [Setting]. You can switch to different page by tapping the tab.
 Search Bar- Type
in the keywords to search for contact information.
Search Bar- Type
in the keywords to search for contact information.
Index List- Click on the index character or scroll the index list to view
the contact and its card image.
Tap Advance Function at [My Favorites] or [Public Contacts], the functions below will be valuable:
Click
![]() in [My Favorites] to
add contacts with the camera or click
in [My Favorites] to
add contacts with the camera or click ![]() to add contact by selecting pictures from Album, using
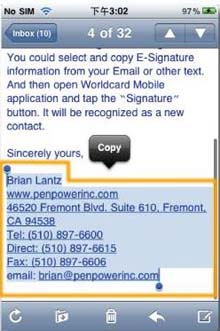
Email Signature, creating manually, Importing from iPhone Contact or recognizing
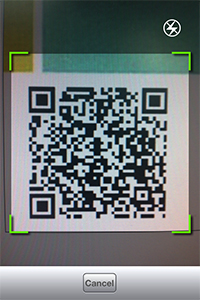
from QR Code.
to add contact by selecting pictures from Album, using
Email Signature, creating manually, Importing from iPhone Contact or recognizing
from QR Code.
a. Create Contacts from Camera
b. Create Contacts from Albums
c. Create Contacts from dock mode
d. Recognize Email Signatures
e. Create Contacts Manually
f. Import from iPhone Contacts
g. Recognize QR Code
- Click
 at top right of the screen and the system will
start the camera mode.
You can rotate iPhone sideways to make sure the
whole business card image is completely in the
frame area.
at top right of the screen and the system will
start the camera mode.
You can rotate iPhone sideways to make sure the
whole business card image is completely in the
frame area.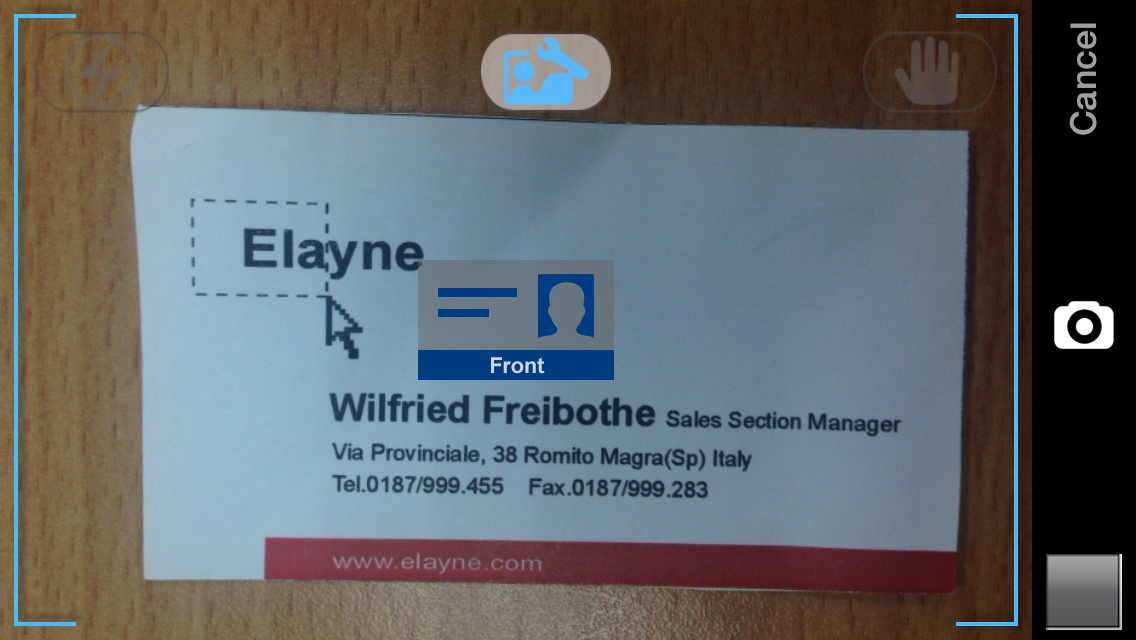
- Click
 to turn on Anti-Shake Mode, click
 to turn on the flash function,and
click
to turn on the flash function,and
click
 to turn on the photo enhancement function.
Note:Please take snapshots in good lighting conditions and reduce or eliminate light reflection and casting shadows. If you are in a low-light condition, please tap the flash button to enable the flash function. (Tap it again to disable the flash function).
- Click
 to capture and preview the image.
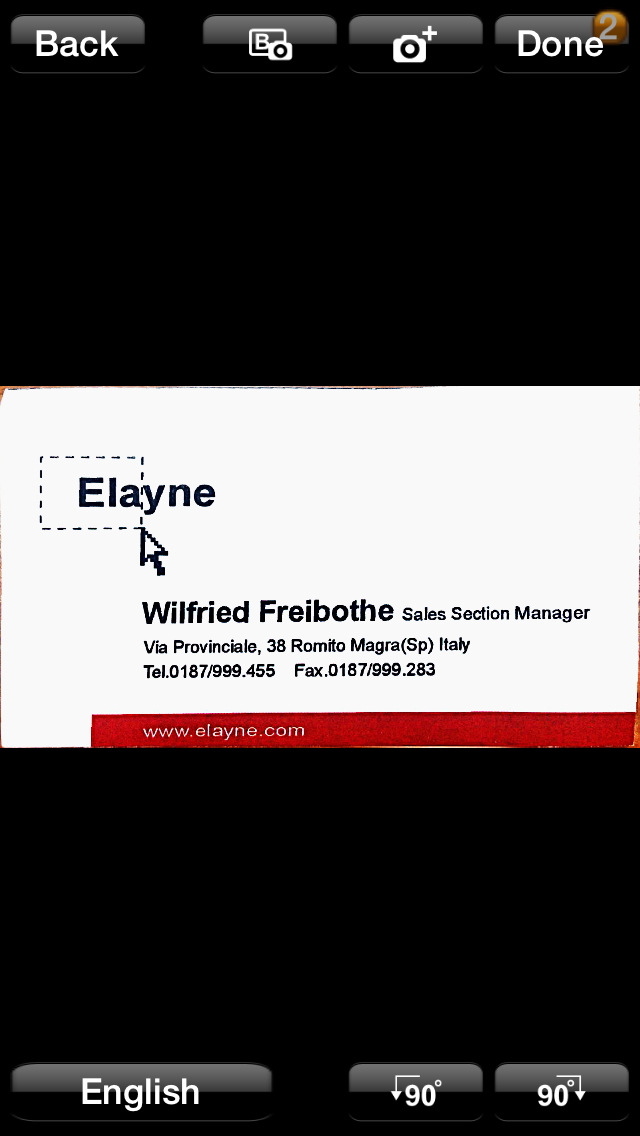
Tip:The number shown at the upper-right corner of [Done] button means the number of the captured image.
- In the preview frame, you can:
- Click
 or
or
 o rotate the image.
- Select the recognition language. This version supports Traditional Chinese, Simplified Chinese, English, Hong Kong, Japanese, Korean, French, German, Italian, Spanish, Spanish (Mexico), Portuguese, Portuguese (Brazilian), Dutch, Polish, Hungarian, Czech, Slovak, Russian, Turkish, Danish, Finnish, Greek, Swedish and Norwegian.
- If you are not satisfied with the image quality, you can tap [Back] to retake a photo.
- If you want to recognize the back side of the business card, just tap
 to capture the back side image and the
information on it will be recognized. Also,
If you want
to capture more images, just tap
to capture the back side image and the
information on it will be recognized. Also,
If you want
to capture more images, just tap
 to take the next card's photo.
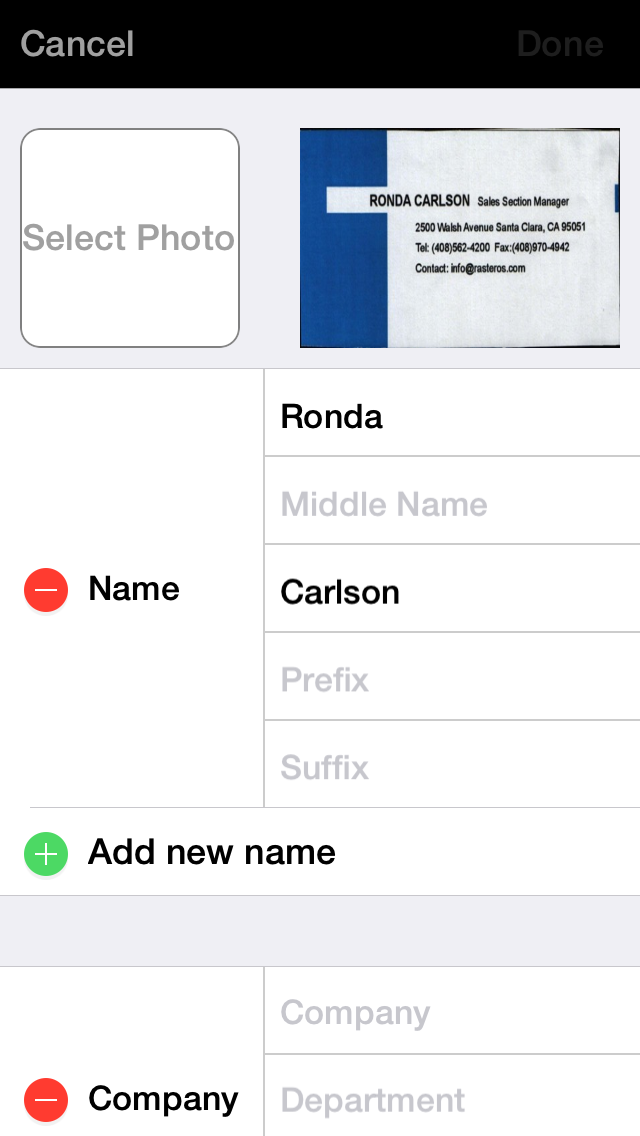
- Tap the [Done] button at the upper-right corner of the screen to start recognizing the card image.
- When the recognition process finishes, you can view and edit the contact information. Click [Done] and the contact information will be saved in [My Favorites].
- Click
- Click
 at top right of the screen and choose [Album].
 -
Choose a
business card image from albums and preview the
image.
-
In the
preview frame, you can:
-
Click
or
o rotate the image.
- Select the recognition language. This version supports Traditional Chinese, Simplified Chinese, English, Hong Kong, Japanese, Korean, French, German, Italian, Spanish, Spanish (Mexico), Portuguese, Portuguese (Brazilian), Dutch, Polish, Hungarian, Czech, Slovak, Russian, Turkish, Danish, Finnish, Greek, Swedish and Norwegian.
-
Click
-
If you are
not satisfied with the image quality, you can
tap [Back] to retake a photo.
- If you want to select
the back
side of the business card,
please click
to select. If you want to
recognize more cards, please click
to choose for the next card image.
-
Tap the
[Done] button at the upper-right corner of the
screen to start recognizing the card image.
-
When the recognition
process finishes, you can view and edit the
contact information. Click [Done] and the
contact information will be saved in [My
Favorites].
a. Create Contacts
from Camera
b. Create
Contacts from Albums